
|
DynaStar/Shrox Firefox-SHX build thread
Normally, I like to build strictly low-power stuff, as I like to keep costs (and launch-day hiking distances) low. However, I recently noticed that Shrox had designed another bird for the folks over at Apogee/DynaStar;
http://www.dynastar-rockets.com/Firefox.html As I am a huuuuge fan of Shrox's sci-fi designs, I figured the best way to encourage him to keep the kits coming was to get one. So, I decided to take the plunge and order my first true mid-power kit. I just got this lovely package in the mail on Saturday, and I couldn't wait to get started; 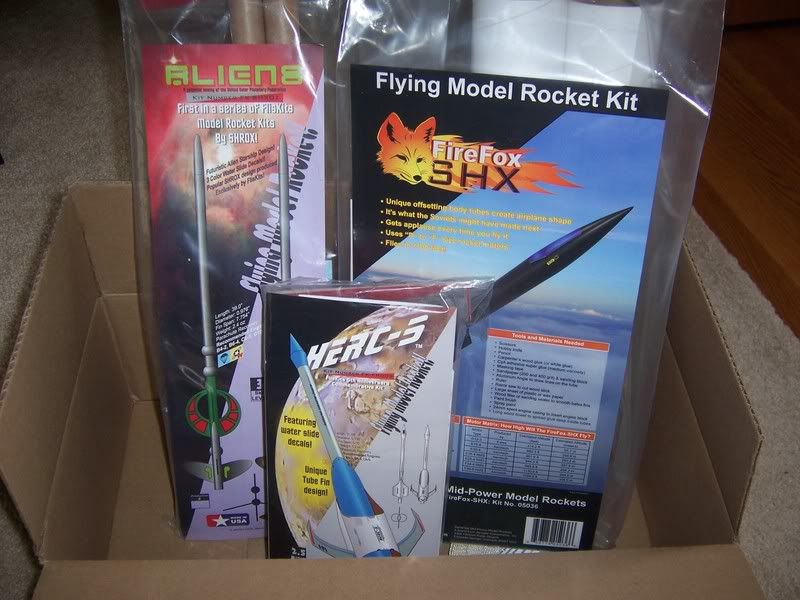 Opening up the kit and laying all the parts out, I began to realize that this is going to be a sizeable bird; 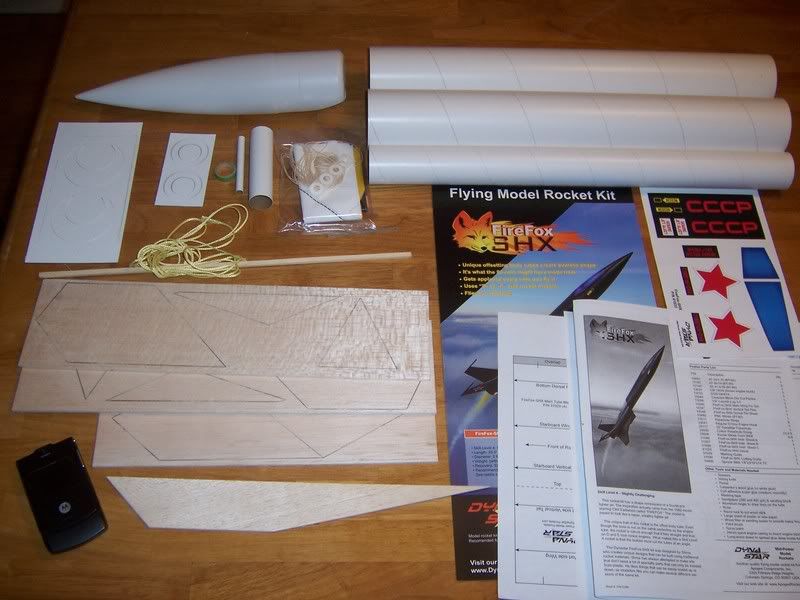 Just to give you an idea of the size, that's my Motorola RAZR cellphone in the lower LH corner. Thankfully, my worries about tackling a mid-power bird are non-existent, as the instructions that are provided by DynaStar are some of the most clear and fantastic directions I've seen. My only real complaint kit-wise is the fact that the decals are mere color print-outs on Avery label paper. I expected a little more for a $46 kit. The main wings are three-piece assemblies, which wind up being over 12" in length; 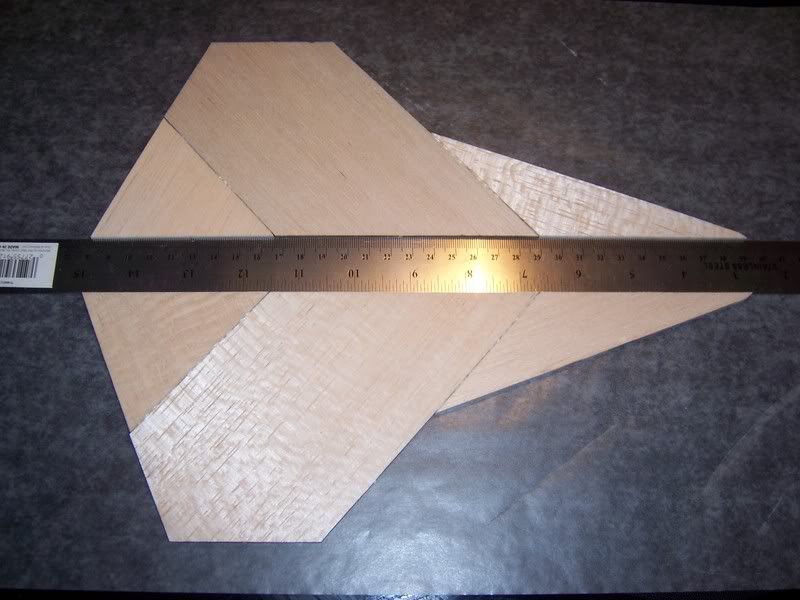 The main backbone of this model is a BT-60 stuffer tube, with offset centering rings on each end. One interesting feature is that they have you cut a slot in the bottom of the tube to anchor the thick kevlar line. You can see it at the bottom of the tube in this picture; 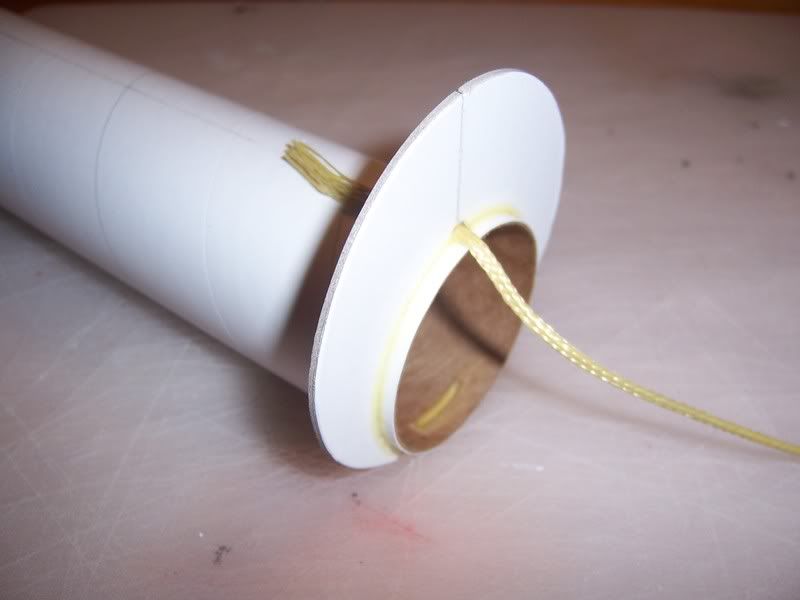 Well, combined with the standard 24mm engine mount assembly, that's as far as I've gotten. Next step; angle-cutting the two BT-80 sections. Later, EV |
Quote:
:eek: Holy cow! Someone apparently didn't get the "cheesy sticker decal" memo. That's pretty bad at that price. You could always scan them and print them to decal paper. |
Ouch! At least Intruder's Dynastar Snarky came with peel-n-cuss decals. That's a tiny step up from Avry labels, but a step up, none-the-less. :rolleyes:
|
Worked on assembling the body last night.
Here's the front section glued on to the stuffer tube; 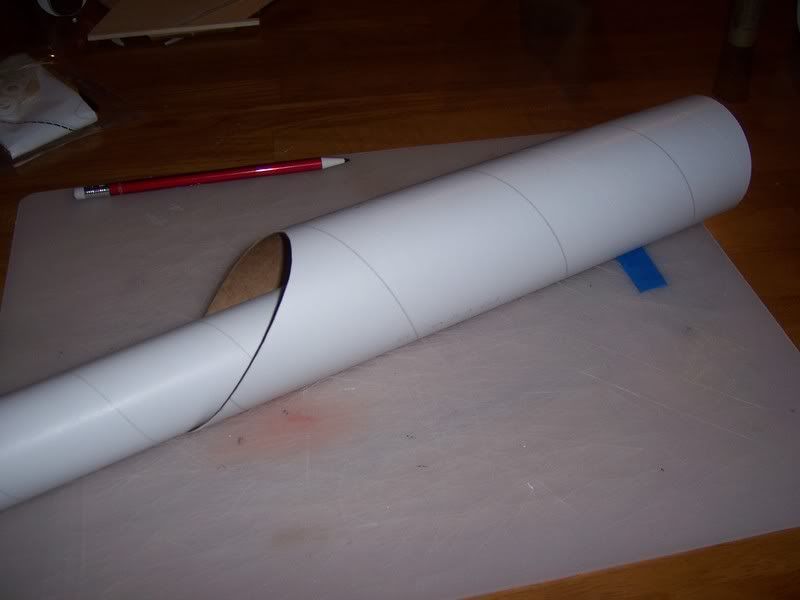 Took a while to really seal the joint properly, as the offset centering ring has a couple of small voids where the two tubes come together. You can see them on this back end view here; 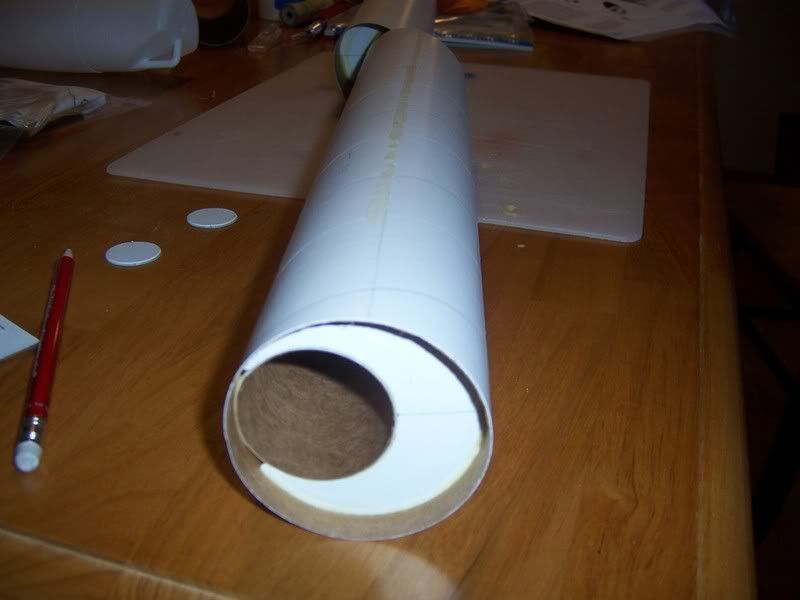 Putting it all together, the main body looks like this; 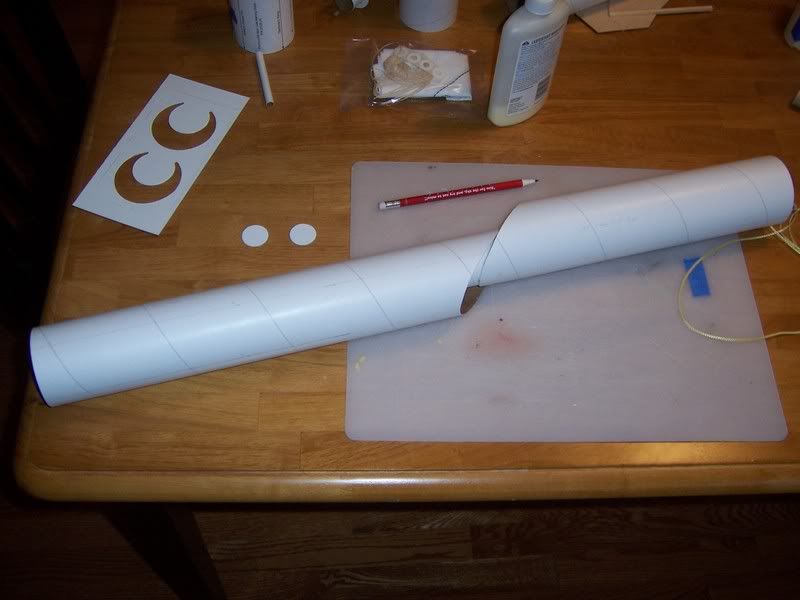 Close-up of the stuffer tube running down into the lower section; 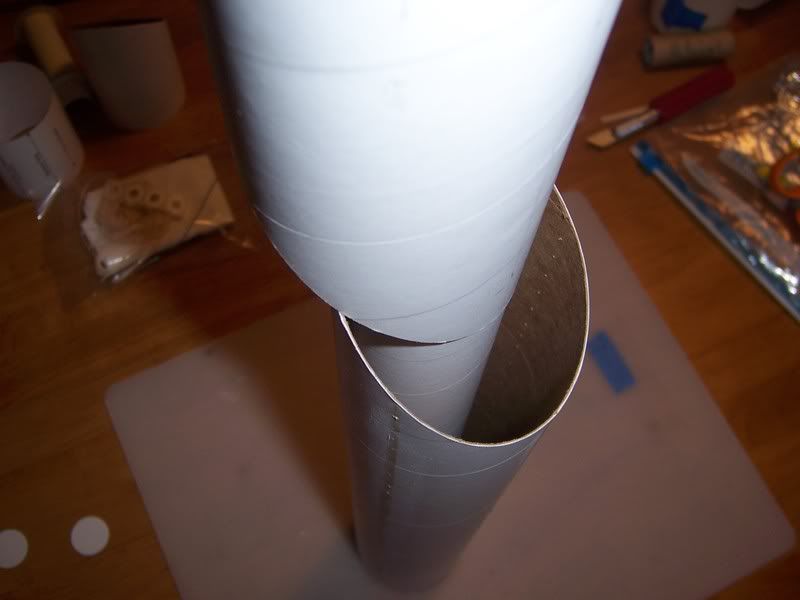 More to follow..... Later, EV |
Finished the build this weekend. Wow, is this bird big and pretty!
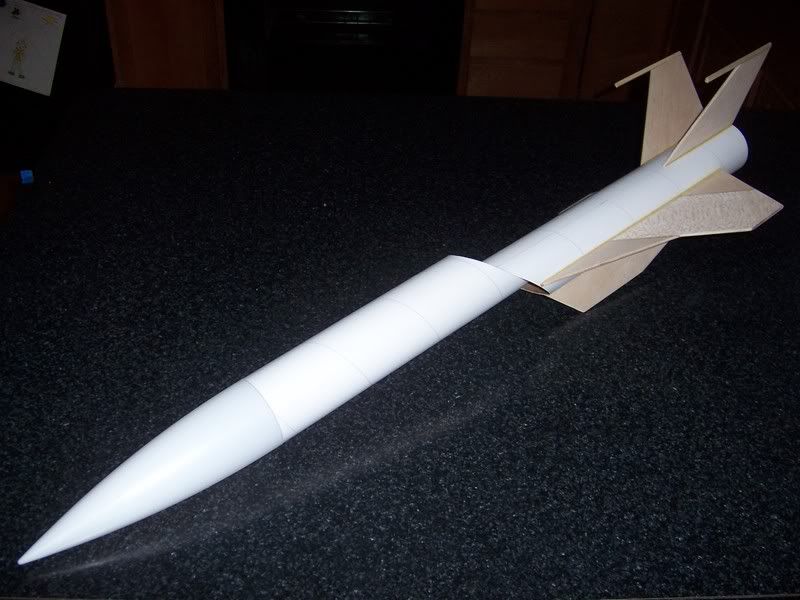 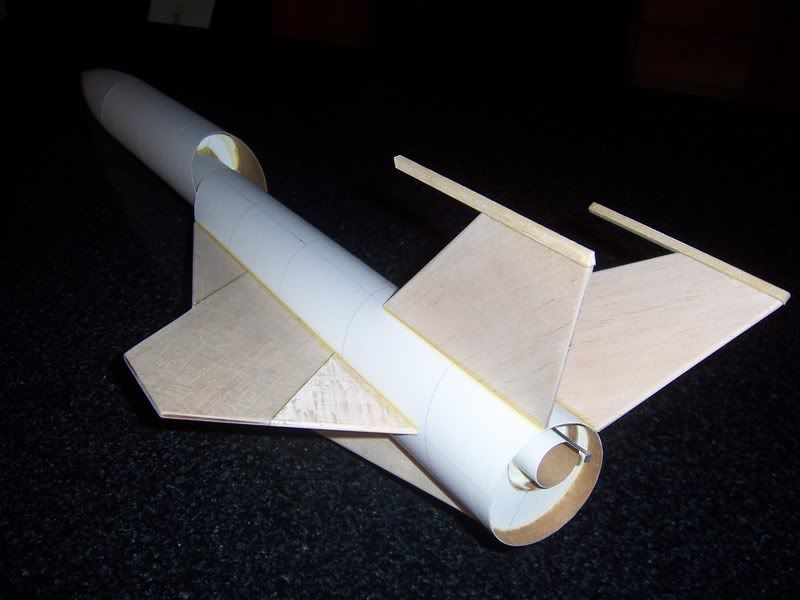 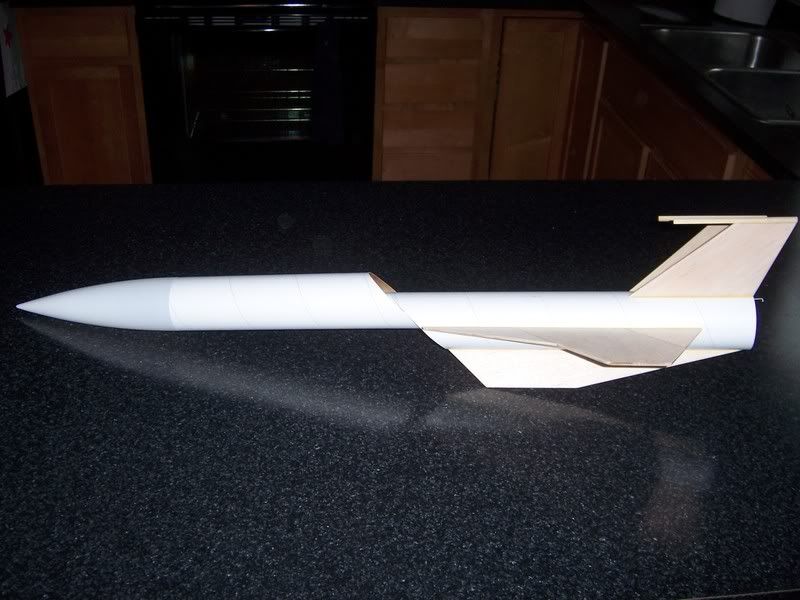 Paint and decals to follow.... Later, EV |
| All times are GMT -5. The time now is 06:14 PM. |
Powered by: vBulletin Version 3.0.7
Copyright ©2000 - 2024, Jelsoft Enterprises Ltd.