
|
Vintage Estes Blue Bird Zero Build
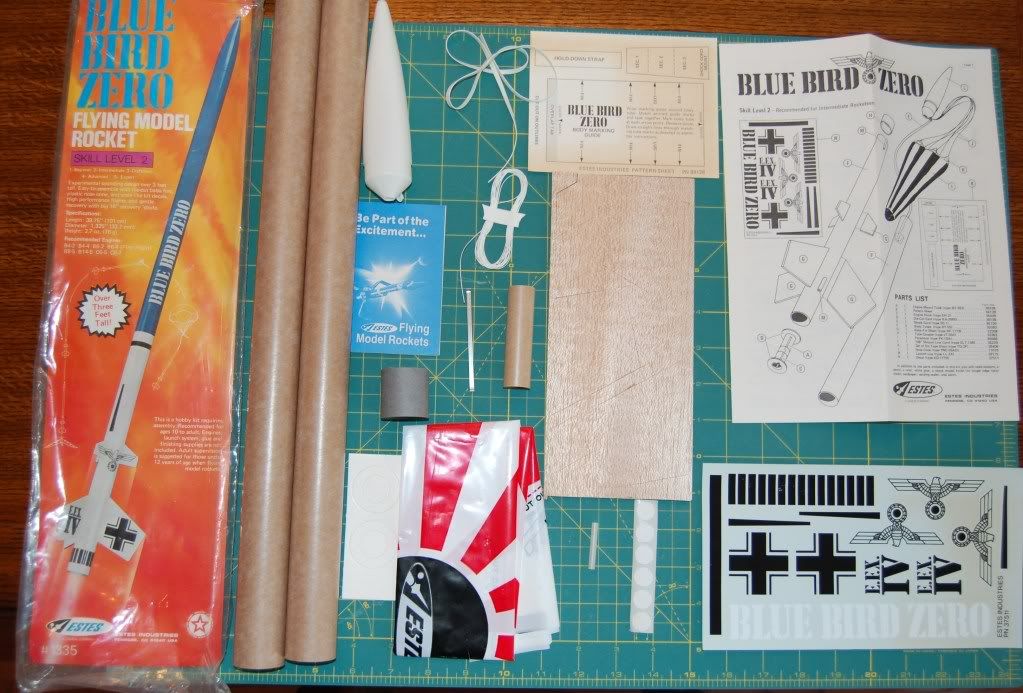
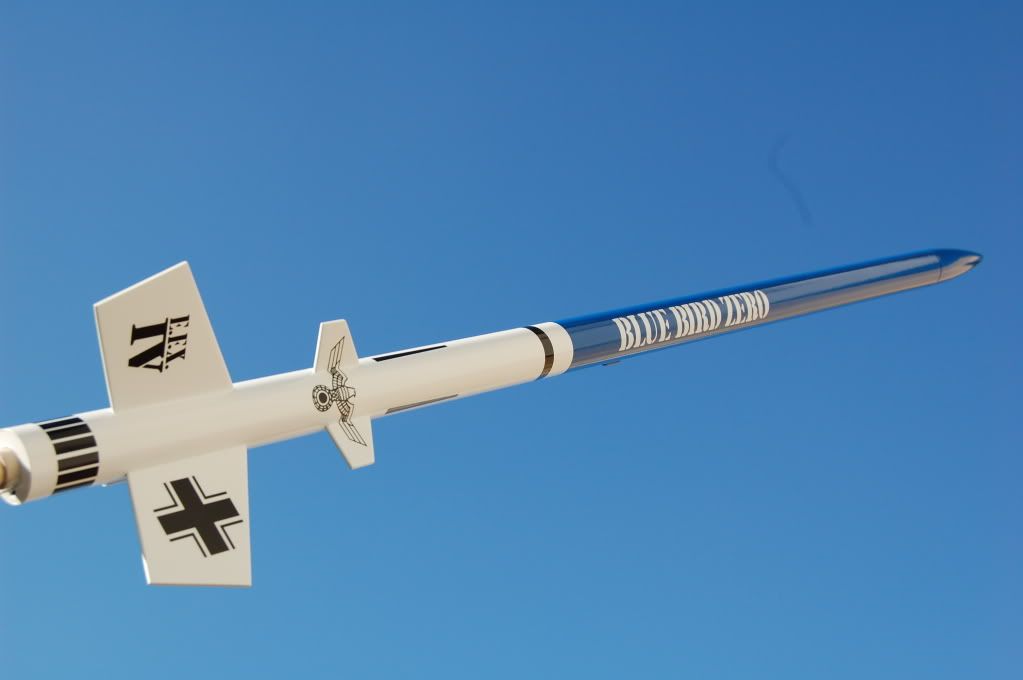
On to the next build. This is the Estes Blue Bird Zero another fantastic vintage Estes kit. Nothing like the smell of old paper, cardboard and wood when opening up one of these kits. Everything looks to be in great shape so there shouldn't be any issues.
 |
Sweet! Definately one my favorites, I'll be watching your progress with interest. :)
|
Im probably going to get hammered for saying this....but....
Thats a $100+ collectable kit. (Unless it was already opened). You could have cloned it easily for $25 including shipping. You are a better man than I,lol. That having been said..... Its probably one of my all time favorite kits. I have cloned an original size, a 1.25 upscale (Big Bird Zero from Excelsior rocketry), a Goony Bird Zero,also from Excelsior and a BT-20 downscale. Its lots of fun and looks great!!!! Good luck with your build!!! Ken |
Quote:
If that puts a lump in your throat, do a search for threads started by Scigs30 in the Projects forum. He's building the whole 1979 catalog fleet....vintage kits. :eek: :cool: |
1 Attachment(s)
I built a clone Blue Bird Zero last year (and a Goonybird Zero too) - parts from BMS, decals from Excelsior. I also built a booster stage of my own design for the BBZ. Flew great on D12-0 to C6-7!
I call it the "Blue Bird Boosted"... |
Quote:
Say it aint so !!!! Wow.... (sniff sniff) |
Quote:
Don't forget they are getting flown too...I think it's really great! Thanks so much for sharing the builds, I really look forward to seeing them. |
Quote:
Awesome. Can't wait to see that Cylon Raider build. :rolleyes: Okay, seriously folks. If he hasn't already done it, I'm looking forward to the Shrike. :cool: |
Wallyum, When I am done with this kit I will open and build my Shrike. Just remind me. :cool:
|
Scigs, you and I were working on the Apogee II at the same time a while back, now you'll be hitting the Shrike. I've got my Shrike clone in the first primer stage, so you should finish yours about the same time I do with your nice dry painting weather. Heck, maybe before me considering I'm putting off sanding that primer coat! :p
|
It rained yesterday, dang weatherman.......The one bummer about the weather is that my flying season is over. California is so rocket friendly, when I retire I am out of here.
|
Blue Bird Zero
I like it! Anyone have "parts list" and assembly instructions?? ;)
|
Quote:
JimZ Rocket Plans: Blue Bird Zero |
A nice kit and a great flyer. It is one of my favorite long slow launchng demo rockets. Haven't flown it since the early 80's. Makes me want to get it out and throw it up into the air. :)
|
Quote:
Shameless plug :chuckle: Blue Bird Zero . |
Quote:
And send them to me so I can make dies from them. :chuckle: . |
Blue Bird Zero Plans
A) I've been flying rockets on and off since 1965. 2) I've never heard of the "Blue Bird Zero" till today. C) In answer to your ? No :mad:
|
Quote:
Oh Snap! Inflight has restocked! Hmmm, the BBZ and Demon are looking good! I may wait a couple of months, I have some other clones I would like to do myself. But I definitely have you on my list of future kits. Gotta help you little guys out where I can. :) |
Quote:
|
How the heck do I make molds for those wraps?
|
Quote:
Aluminite! I would tape the emboss down on some plastic sheet with the raised surface up. Build a mold box around it about 1/2" tall. Hot glue gun works well. Pour rubber mold resin in the mold and let it setup for 6 - 8hrs per instructions. Next step is to make a copy of the opposite side of the raised surface. Take the raised surfaced mold you made and flip it over with the paper emboss sitting inside of it and spray mold release on it. Pour rubber mold resin in the mold to make the other half. Done I wouldn't use these molds to make an actual part. The rubber molds would be used to make the actual emboss dies. Basically you make hard plastic resin embossing dies. There are some tricks to making the actual dies so they can handle the load of a 1 - 2 ton manual press. I'm a certified journeyman tool & die maker ;) . |
Quote:
Does the paper not absorb some of the aluminite or mold release before it sets? |
Quote:
Go get yourself a nice beginner's box of Lego bricks. They make a great box for holding the rubber while it cures. Use one of those disposable kitchen cutting mats for the smooth bottom surface, and some small squeeze clamps from Lowes or Home Depot to hold the box down. This is what I used when making those special parts for the Sat 1B project... |
Quote:
I meant the Shrike's paper shroud. Does the mold release or the aluminite not soak into it somewhat before it cures? |
Quote:
Yes, that is the price to pay to make a mold using this method. Basically the paper will absorb some of the moisture in the aluminite while it cures. Btw, this is only the first part of the process. You will need to make a second set of molds from the first set. Then cast the hard plastic dies from the second set of molds. Make sense? |
What about Carl at Semroc? Is he able to make these parts?
|
Quote:
|
Knowing my luck I would ruin it so I won't even try it, sorry.
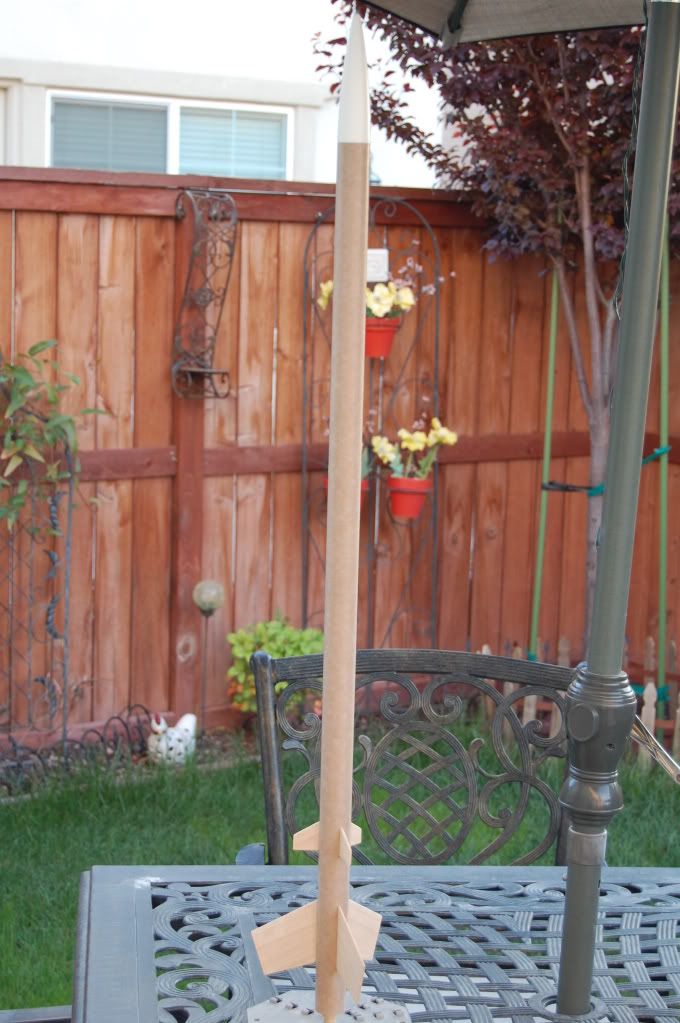
Anyway, I am applying my 3rd coat of balsa sealer to the fins and will begin assembling tonight. |
Things to consider... Alumilite has a rather high shrinkage rate so the molded pieces will be slightly undersized. The original kit had embossed cardboard wraps with very shallow details. If you made it out of vacu-formed plastic it would have to be VERY thin to capture all of the details and in the case of the nozzle shroud, would be very easy to melt being near the motor.
|
Quote:
Btw, Alumilite now offers an additive to reduce shrinkage. I haven't tried it yet so I don't know if it works or not. Have you tried this additive ? . |
Quote:
Ahhhhh! An embossing plate... I knew that, I was just testing you :D. I have not tried the additive. I stopped using Alumilite once I got familiar with the casting process. The 4 minute working time was not enough to get the mold in the pressure tank and for all of the bubbles to work their way out. I use some stuff from Polytek that cures in 5-7 hours AND has almost no shrinkage. |
tbzep,
How are you making the wraps for your clone? I am eager to clone a Shrike, but the wraps were holding me back... |
Quote:
I got in touch with a guy a while back that made them with some sort of special printer that applies a thick plastic looking film to the paper. He used to post occasionally on the Old Rockets Yahoo group we used to frequent before YORF kicked into high gear. To be honest, once you step back from an Astron Shrike a few feet, you don't really see the corrugations all that well, similar to the older Estes Saturn V. I almost decided to build my Shrike with plain cardstock wraps, then remembered reading about the guy and hunted him down. I've had the wraps for a long time just sitting here looking at me. IIRC, I just did a search on the Old Rockets list for Shrike shrouds and found him that way. |
The wraps have fine detail and once painted the detail will be hard to see. So if you don't have the wraps just use plain cardstock.
|
Quote:
My son and I have been doing a few models with paper wraps/corrugations this past year. We only hit the wraps with a single light coat of primer, and have it masked off the rest of the time until we are ready for the color coat. Every little bit helps to keep the corrugations from filling up and disappearing completely. It still fills up a lot with that last wet coat of color that makes the rest of the model look so good. |
I have the Blue Bird Zero built and waiting for the fillets to dry. I will begin priming on my next day off.
 |
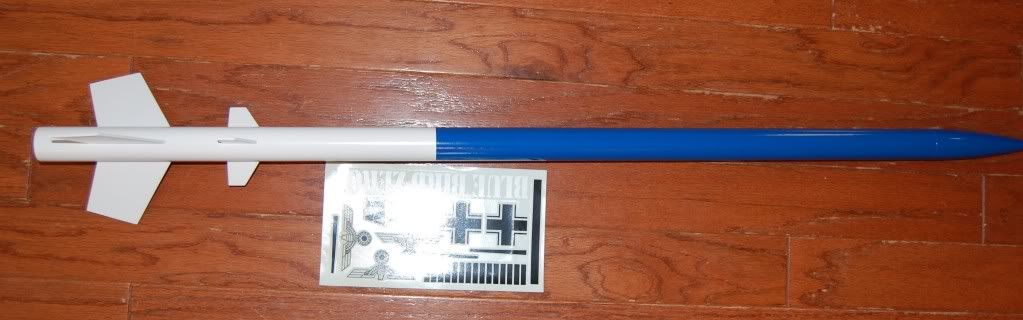
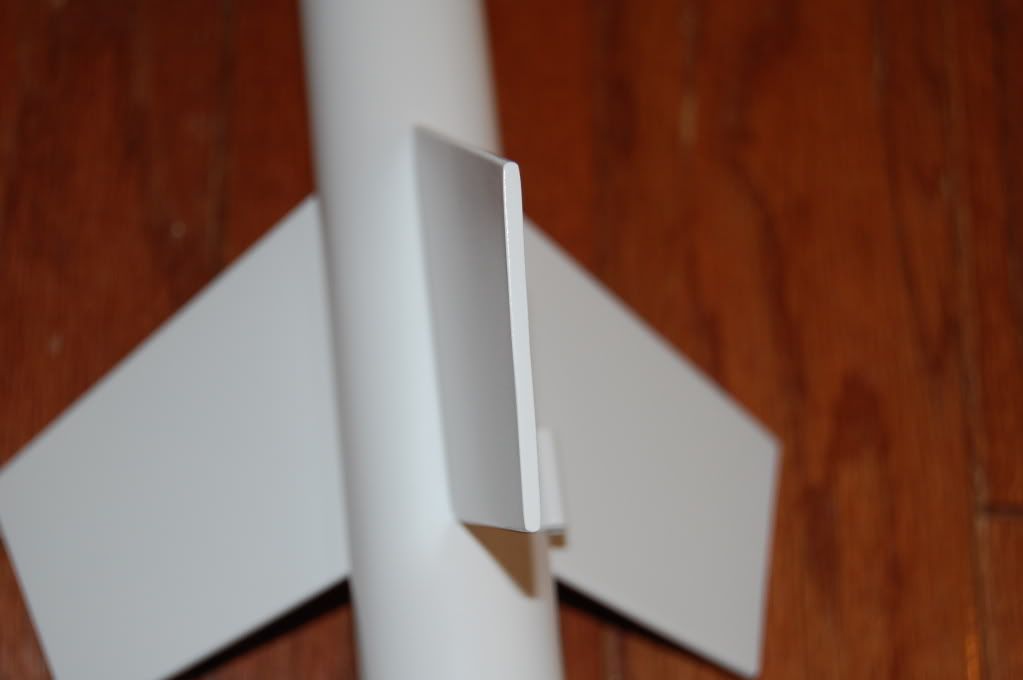
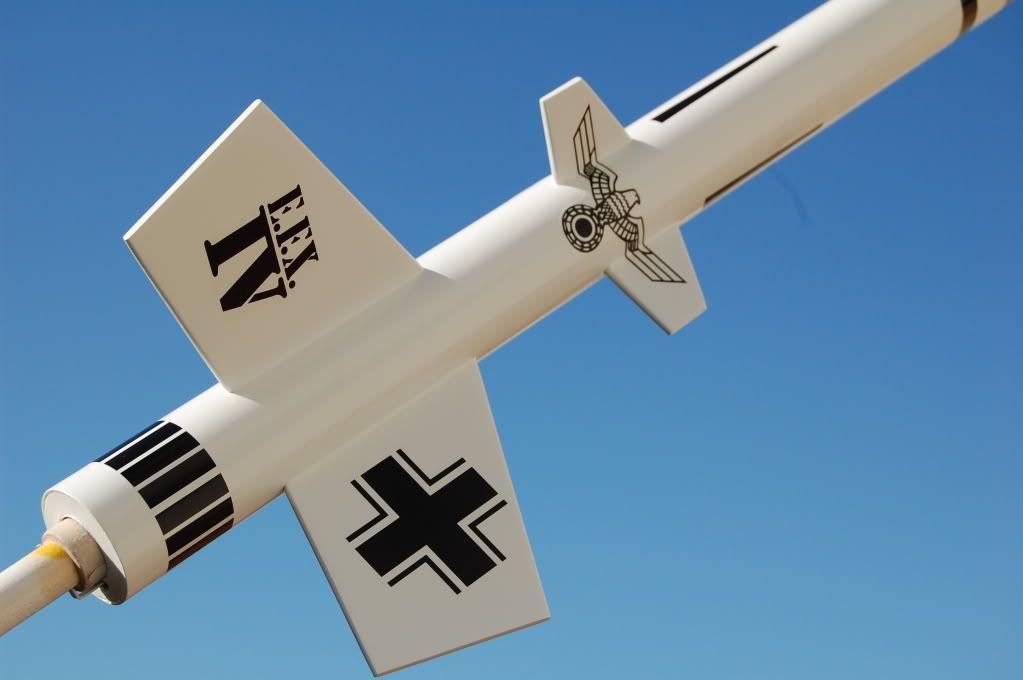
This rocket is ready for the decals. I am applying a couple coats of liquid decal film today and will let that dry for 24 hours before I apply the decals. This is the largest rocket I have built to date, and I am still getting used to its size. I keep bumping into objects with this thing. Notice I sanded the leading edges and trailing edges round, and the blue and white separation came out sharp. That's not because of me by the way, its because of the Tamiya tape.
  |
Quote:
Wow... I let the stuff dry for about 15-20 minutes :eek: . I think the bottle says 15... The model looks great, and the rounded fins are a work of art ;) |
Quote:
Most new decals that works for me, but these older ones can be fussy. In the beginning I used them the same day I applied the film and was having difficulties. Someone told me to wait 24 hours and then try using the decals.....Ever since Ive been doing this I have had no issues. I know it could just be me..... |
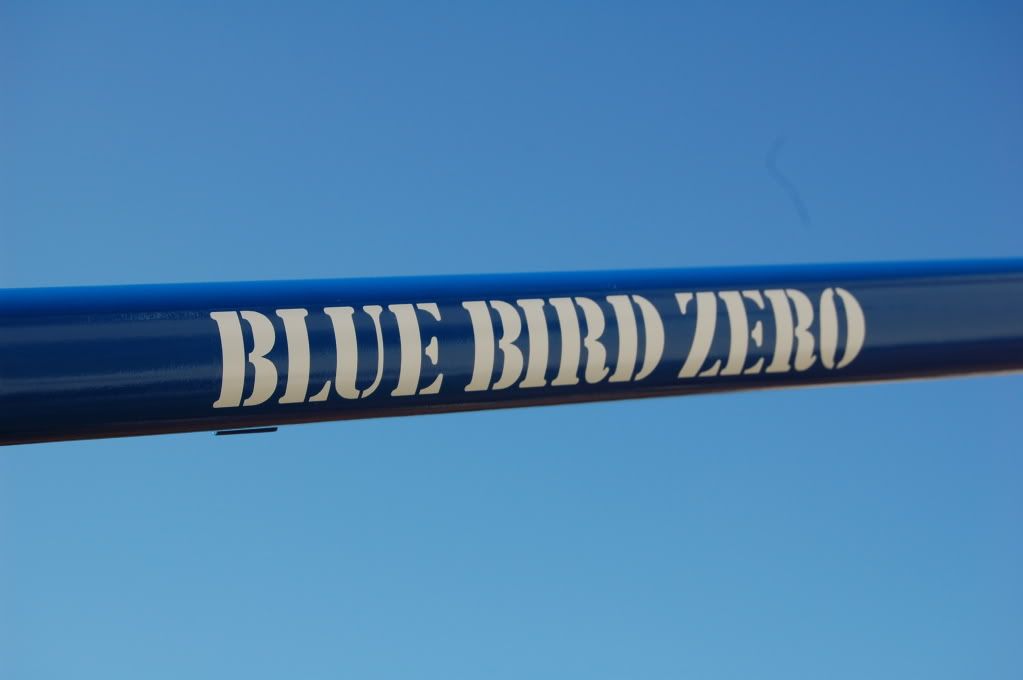
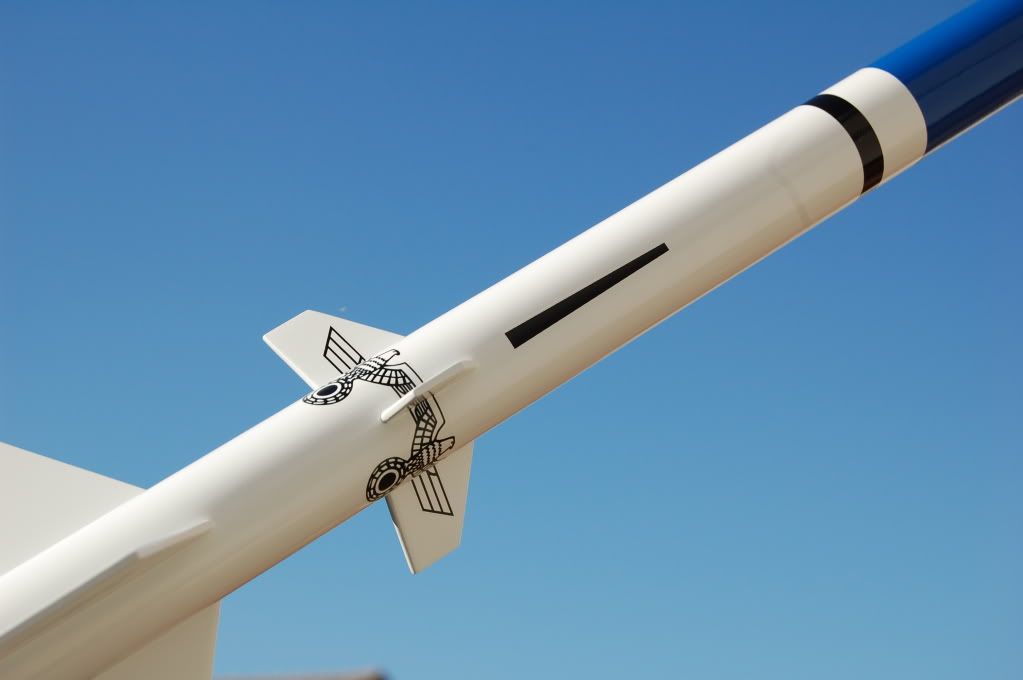
I am all done, these old decals were a pain in the *^^&, but after 3 coats of liquid decal film and clear spray they did ok. Once in position I did not have much time to move adjust the decals.
    |
| All times are GMT -5. The time now is 11:01 PM. |
Powered by: vBulletin Version 3.0.7
Copyright ©2000 - 2024, Jelsoft Enterprises Ltd.